


 English
 中文简体
Don't hesitate to send a message
How to Install a Front Wheel Ebike Conversion Kit: A Step-by-Step Guide
Content
Converting a conventional bicycle into an electric bike is one of the most practical upgrades you can make, and for many riders the front wheel is the simplest starting point. A front wheel ebike conversion kit replaces your existing front wheel with a motorized hub, usually without major frame modification. This guide explains how to install a front wheel ebike conversion kit safely and cleanly, drawing on lessons learned from years of hub motor manufacturing and quality testing.
Tools and Safety Preparation
Most front hub conversions require only common hand tools. Lay out the kit, read the manual, and check that the motor axle matches your fork width before lifting your bike onto a stand.
- Torque wrench or a proper socket set for the axle nuts
- Allen keys for brake calipers and accessory brackets
- Tire levers if you need to adjust the installed tire or tube
- Cable ties, electrical tape, and optionally heat shrink tubing
- Torque arms for high-power motors, especially on suspension forks
Support the bike on a stable work stand so the front wheel is off the ground. If you do not have a stand, pad the top tube or place the bike upside down on a clean surface. Always remove the battery or disconnect it before touching electrical connectors. If the front fork is carbon fiber, check the fork manufacturer’s recommendation first—not every fork is rated to hold a motorized axle.
Choosing the Right Front Hub Motor Kit
The installation process is similar across most kits, but the right motor specification matters before you start turning bolts. Confirm the wheel diameter, fork axle width, brake type, and power level you actually need. A 350W motor such as the D-type F350 is a common starting point for flat commutes and keeps the wheel light and compact. For heavier riders, steep climbs, or cargo loads, 500W or 1500W variants are available with the same basic mounting concept.
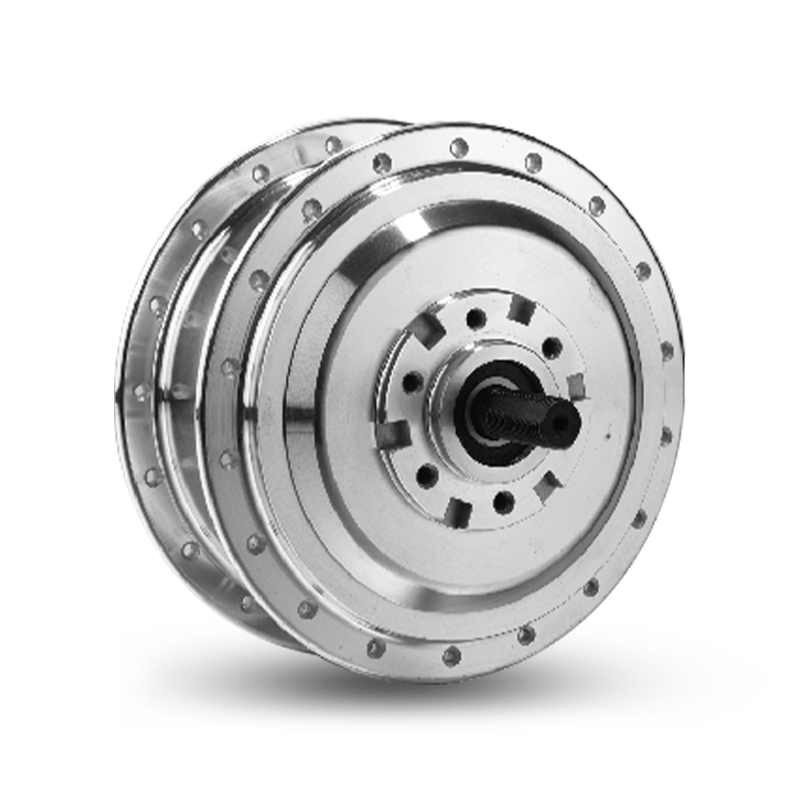 D-Type F350 Front Hub Motor for City CommutersSuitable for flat commutes, this 350W hub motor keeps the wheel light and compact. It offers 45Nm torque and IP65 waterproofing, fitting 14-28 inch wheels.View Product →
If you are deciding between direct-drive and geared configurations, our overview of front hub motors for ebikes explains the main differences in weight, acceleration, and freewheeling behavior. Geared front hubs remain a favorite because they fit in a normal fork and still provide good torque from a lower wattage.
Step-by-Step Installation
Step 1: Remove the Existing Front Wheel
Shift to a comfortable working position and open the quick-release lever or loosen the axle nuts. If your bike has disc brakes, unbolt the caliper so the rotor can pass through. Do not disconnect the hydraulic brake hose. Rotate the wheel slightly if it feels stuck, then lift it straight out of the dropouts.
Step 2: Install the Motor Wheel
Slide the motor wheel into the front fork dropouts, making sure the axle sits at the same depth on both sides. Orient the motor cable so it leaves the axle and travels along the fork without rubbing against the tire. Insert any anti-rotation washers or torque arms now. Tighten the axle nuts in small alternating increments to keep the wheel centered, and finish with a torque wrench. The axle torque specification is printed in most manuals—usually around 30 to 40 Nm for this class of motor.
Step 3: Mount the Brake Rotor and Caliper
If the motor wheel did not come with a brake rotor preinstalled, bolt the rotor to the motor cover and tighten the screws evenly in a crisscross pattern. Reinstall the brake caliper and check that the rotor stays straight as the wheel spins. For rim brakes, open the caliper, position the pads, and adjust the cable tension until the pads touch simultaneously.
Step 4: Install the Battery
Battery placement varies by kit. Common locations are the downtube, rear rack, or a handlebar bag. Use the supplied brackets and make sure the battery cannot slide forward during hard braking. Leave enough room for the controller if you plan to mount it nearby. Avoid bolting the battery bracket through painted frame areas without protective washers.
Step 5: Connect the Controller and Wiring
The controller can be mounted inside a frame bag, along the downtube, or under the rear rack. Connect the motor phase wires and hall sensor connector to the controller first, then connect the throttle, pedal assist sensor, brake levers, and display. Use heat shrink or silicone tape on exposed joints. Keep wire routing clear of chainrings, suspension parts, and the tire.
Wiring and Controller Placement Tips
Neat cable routing is more than cosmetic. It protects wires from abrasion, water, and accidental disconnects. Run the motor cable along the fork and secure it with spiral wrap or cable ties every few inches. Leave a small loop of slack near the axle so steering does not pull on the connector.
Because geared front hubs have thinner phase leads than many direct-drive units, they are easier to route through frame gaps. If you want to understand the engineering behind that difference, our article on geared hub motor technology digs into the gear reduction and freewheel design.
Testing and Adjusting
Before riding, test the system with the wheel off the ground. Switch on the battery and display, then gently apply the throttle. The wheel should rotate in the forward direction. If it spins the opposite way, swap any two of the three phase wires on the motor connector, or change the motor direction setting in the display if the controller allows it.
Move the throttle to zero, then spin the wheel by hand and apply each brake lever. The motor should cut immediately when a brake is applied. After those checks, take a careful low-speed ride in an open area. Listen for rubbing, feel for vibration, and recheck the axle nuts after the first 10 minutes of riding. A short second retorque is normal.
Common Problems and Maintenance
Even a straightforward project can bring surprises. The table below lists the issues we encounter most often when testing front hub motors in our facility and during field feedback.
| Problem | Likely Cause | Solution |
|---|---|---|
| Wheel rubs against fork leg | Axle not seated evenly | Loosen nuts, realign, retighten evenly |
| Motor cuts out under load | Loose phase connection or drained battery | Replace connector, recharge fully |
| Controller gets hot | Restricted airflow or continuous stall-condition riding | Move controller to open area, avoid long low-speed climbs |
| Disc rotor wobbles | Rotor bolts tightened unevenly | Retorque rotor bolts in a crisscross pattern |
Regular maintenance is simple. Check the axle nuts every month, keep connectors dry, and inspect the tire tread for debris. Because front motors carry less of the bike’s weight than rear units, tire and brake wear are often moderate, but the fork should still be inspected visually for any signs of stress or movement around the dropouts.
Final Checks Before Your First Ride
Walk around the bike one last time. Is the front wheel centered in the fork? Are all bolts tight? Do the steering and cabling move freely? Is the battery locked in place? Answering yes to these questions gives you a safe start.
Remember that a 500W front motor such as the E-type F500 uses the same installation sequence, but the need for torque arms becomes more serious. For demanding cargo or mountain applications, a stronger motor is often the better investment.
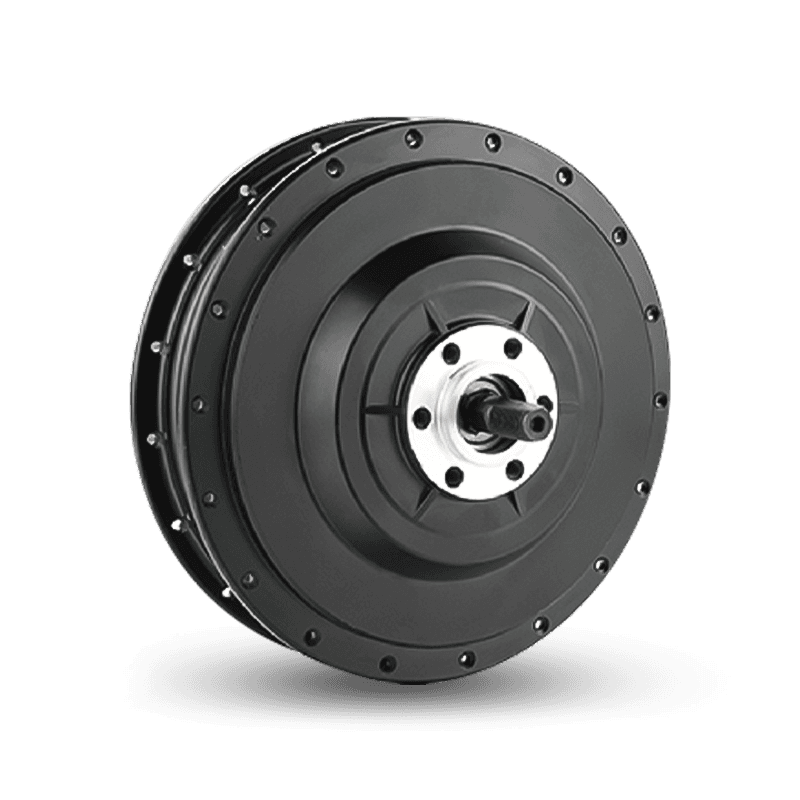 E-Type F500 Front Hub Motor for Cargo and E-MTBBuilt for heavier loads and steeper climbs, this 500W motor delivers 75Nm torque. Its patented gears last over 40,000 km, ideal for demanding applications.View Product →
With two decades of hub motor manufacturing behind us, we know that a careful installation makes the difference between a conversion that feels natural and one that keeps giving trouble. Do the job deliberately, check your fasteners more than once, and your front-wheel ebike will deliver many thousands of worry-free kilometers. If you are building your own brand or assembling a fleet, feel free to compare our front hub motor options or talk to our engineering team about custom development.
OUR PRODUCTS
Recommended Products
-
E-Type F500 Front Hub Motor
The E-Type F500 front hub motor is designed for E-Cargo and E-MTB bikes, offerin...
-
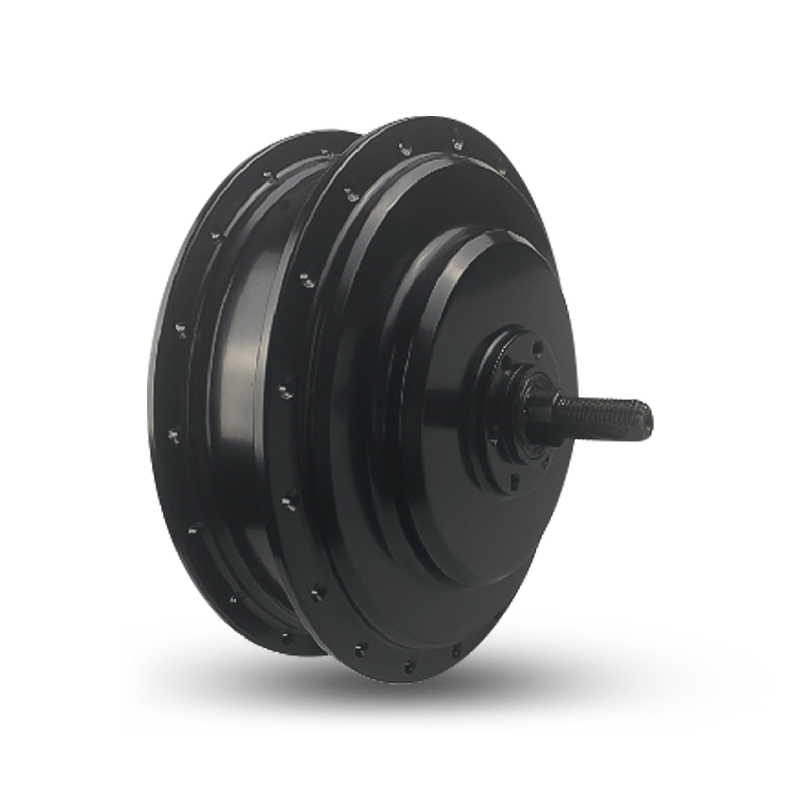 E-Type Pro RC750 Rear Hub Motor
The E-Type Pro RC750 Rear Hub Motor is designed for E-Cargo and E-MTB bikes, com...
-
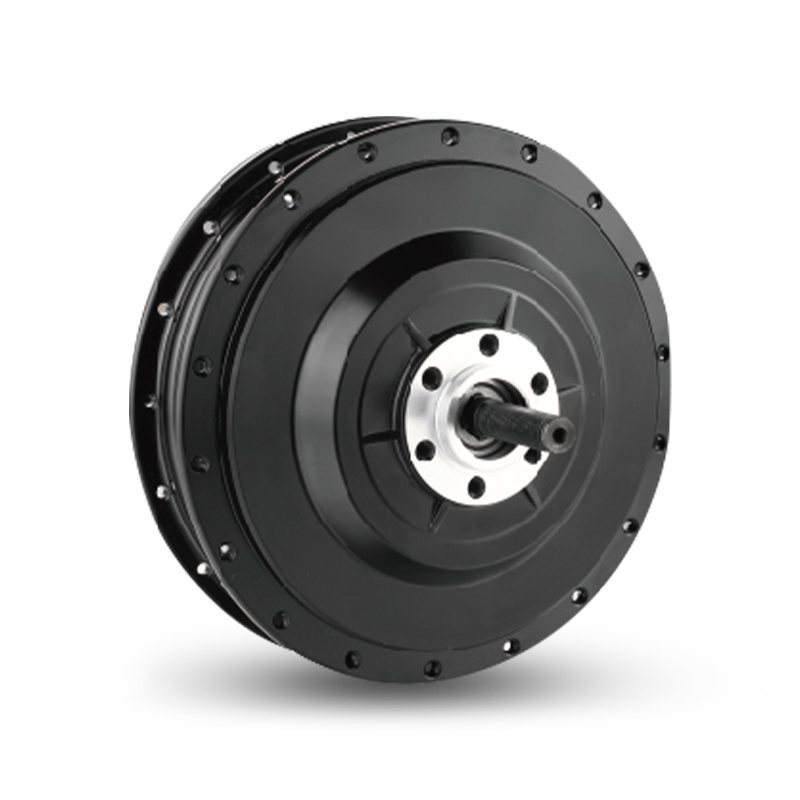 E-Type RF500 Rear Hub Motor
The E-Type RF500 Rear Hub Motor is designed for E-Cargo and E-MTB bikes, compati...
-
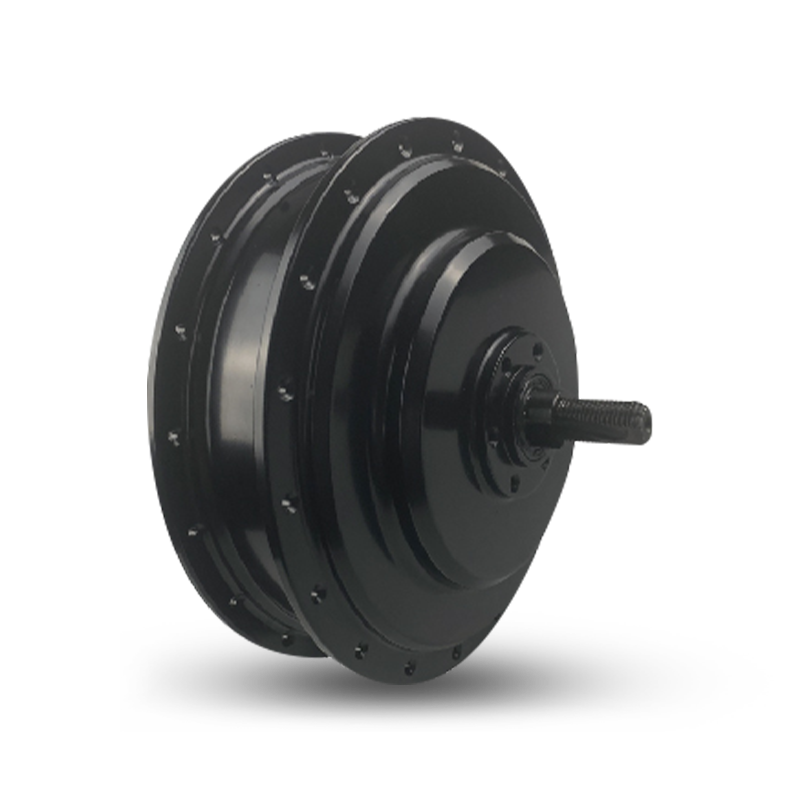 E-Type Pro RF750 Rear Hub Motor
The E-Type Pro RF750 Rear Hub Motor is designed for E-Cargo and E-MTB bikes, com...
-
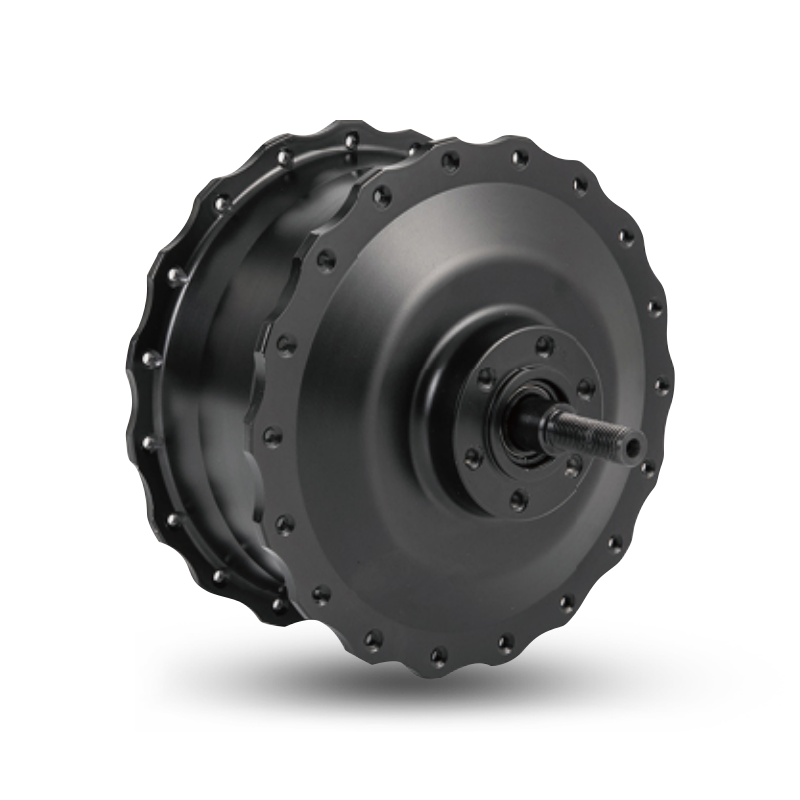 S-Type Pro F1500 Front Hub Motor
The S-Type Pro F1500 front hub motor, designed for E-Carao and E-Fat bikes, offe...
-
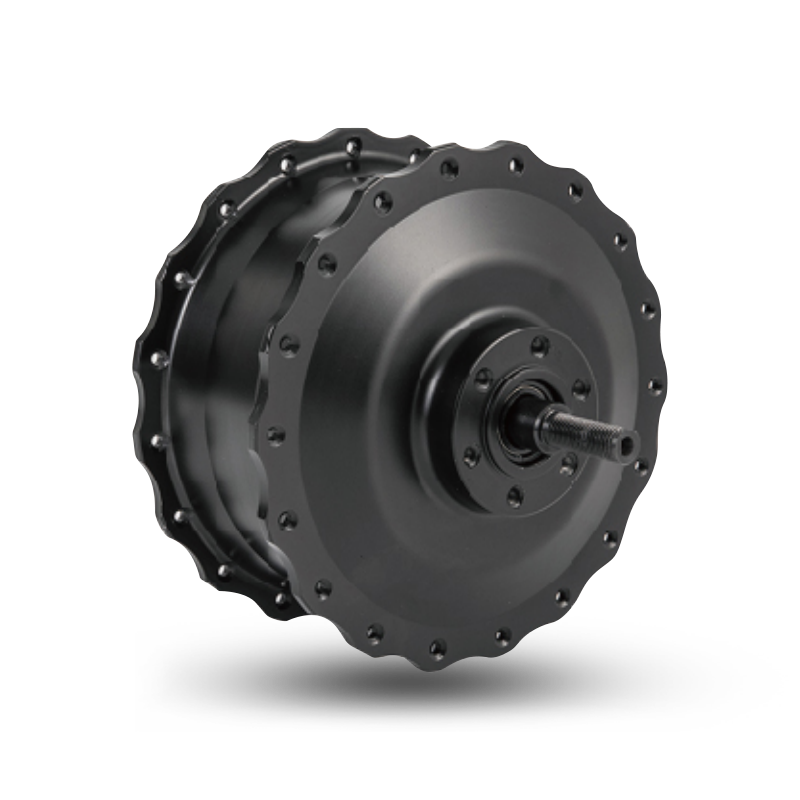 S-Type F750 Front Hub Motor
S-Type F750 is designed for E-Cargo and E-Fat. The rated power ranges from 500W ...
-
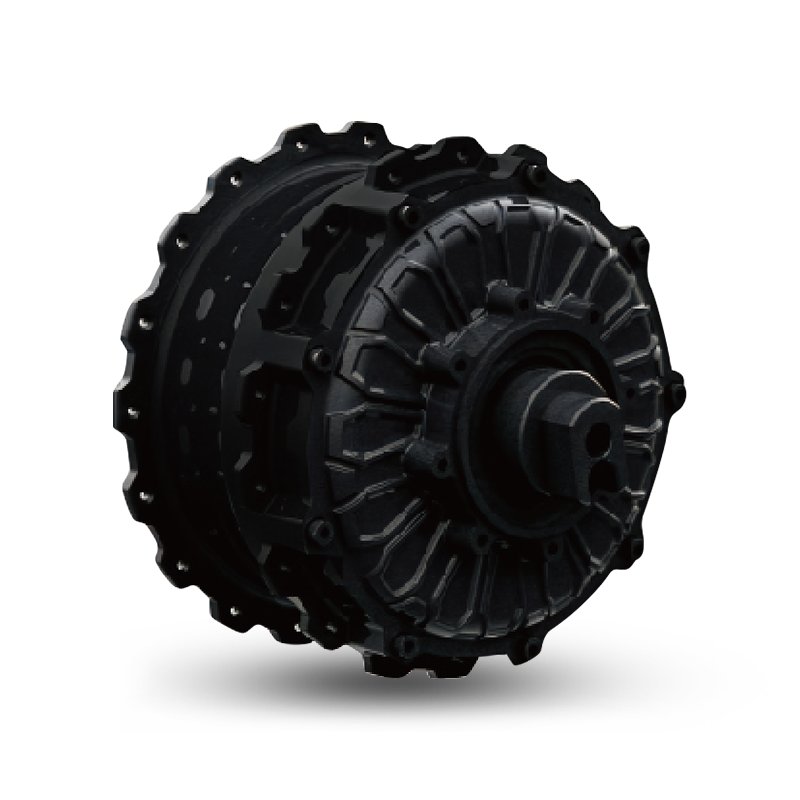 S-TYPE Max THRU AXLE Rear Hub Motor
The S-TYPE Max thru-axle motor is designed for E-Fat, Moped, and Cargo applicati...
-
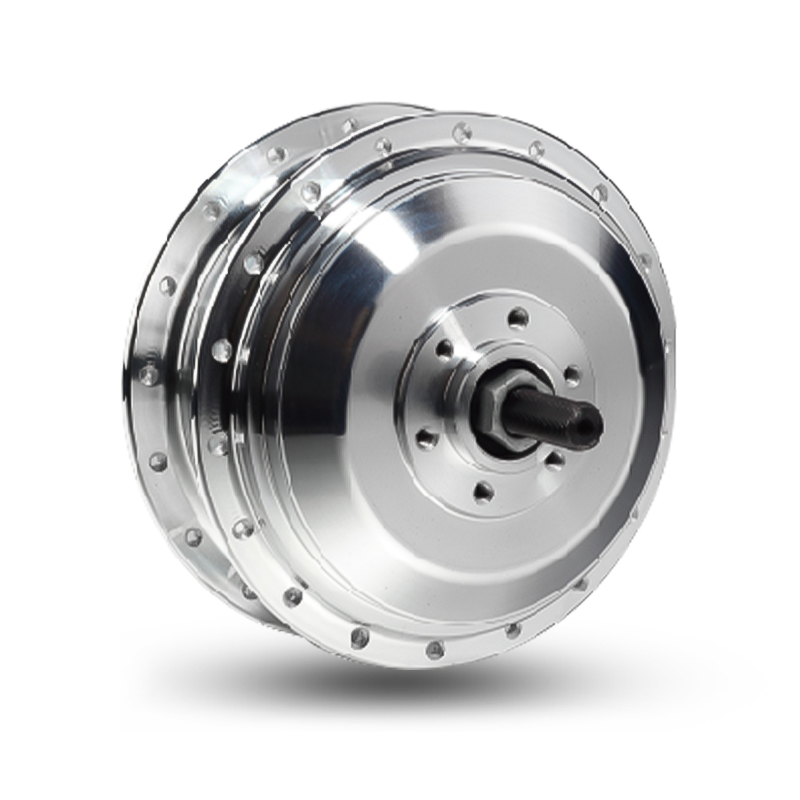 C-Type R350 Rear Hub Motor
The C-Type R350 Rear Hub Motor, designed for city e-bikes, offers a rated power ...
If you are interested in our products, please consult us
Contact Details
- Address:No. 3 Dingqiao Rd, Jiangshan Town, Yinzhou District, Ningbo, Zhejiang Province, China
- Phone: +86 13806662915
- Email: K.zhang@hengtai-cn.com
Products
Quick Link
News Center
Mobile terminal
