


 English
 中文简体
Don't hesitate to send a message
how to install hub motor on bike: Applications, Selection Criteria, and Practical Guidance
Content
Installing a hub motor on a bike is one of the most satisfying upgrades you can take on, whether you are converting a standard bicycle into an electric commuter or replacing a worn-out motor on an existing e-bike. As a manufacturer with over two decades of experience building hub motors for e-bikes and electric vehicles, we have seen countless installations and know exactly which small details separate a smooth, reliable setup from one that fails within the first hundred miles. This guide walks you through the entire process, from choosing the right motor to the final torque check.
What You Need Before You Start
Good preparation saves you from frustration halfway through the job. Most hub motor wheels come with everything you need, but a few extra items make the process smoother.
Essential Tools
- Allen key set, usually 3 mm to 8 mm
- Torque wrench for accurate axle nut tightening
- Correct-size spanners or wrenches
- Screwdrivers, both flathead and Phillips
- Cable ties and side cutters for clean wiring
- Grease for axle threads and dropouts
- A torque arm, if your kit does not include one
Bike Compatibility Checks
Before unbolting anything, confirm the motor wheel fits your frame. Measure the dropout width: front dropouts on standard bikes are usually 100 mm, while rear dropouts range from 135 mm to 142 mm depending on quick-release or thru-axle. Confirm the wheel diameter matches your frame and the brake type is compatible. Disc brake motor wheels typically include the rotor adapter; rim brake motors use the machined braking surface directly.
Front or Rear Hub Motor: Your First Decision
The mounting position affects both the installation process and the ride experience. Front hub motors are the simpler choice for a first-time installer. The front fork gives you easy access, and you do not have to work around the chain, cassette, or derailleur. You remove the stock wheel, slide in the motor wheel, and tighten the axle nuts.
Rear hub motors put the drive force on the wheel with the most traction, making climbing and acceleration feel more planted. The trade-off is transferring your cassette or freewheel onto the motor wheel, aligning the derailleur, and working in a tighter space. Thru-axle rear ends need a motor built to that standard.
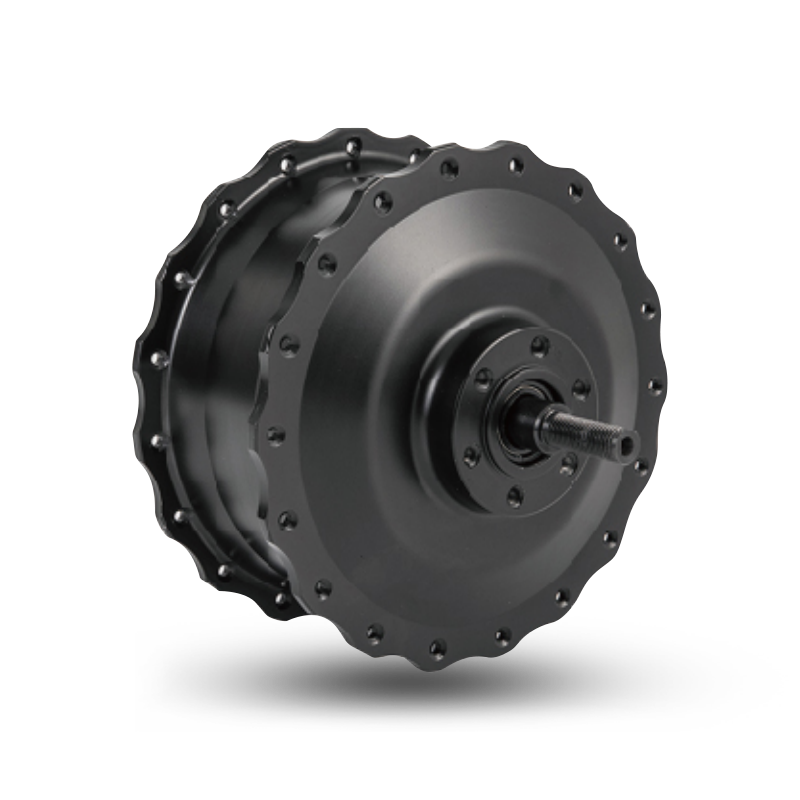 S-Type F750 Front Hub Motor for E-Cargo and E-Fat BikesThis front-drive hub motor offers 350-750W power and 90 Nm torque, with a 135mm dropout for cargo and fat tire frames, making it a solid choice for traction-focused conversions.View Product →
Whichever position you choose, the installation sequence below covers both setups. If you are still weighing the options, our guide to front hub motors explains why many commuters prefer the simple, lightweight feel of a front-drive conversion.
Step-by-Step Hub Motor Installation
Step 1: Remove the Existing Wheel
Shift into the smallest rear gear when working on the back wheel. Loosen the quick-release skewer or axle nuts, and remove the disc brake caliper if it obstructs wheel removal. For rear wheels, pull the derailleur back gently as you slide the wheel out.
Step 2: Fit the Torque Arm
Do not skip this step. A hub motor produces significant torque at the axle, especially during acceleration and hill climbing. Without a torque arm, the axle can rotate inside the dropout and damage the frame. The torque arm transfers that rotational force to the frame and keeps the axle locked in place. Position it flush against the fork leg or chainstay, then loosely secure the axle nut while mounting the wheel.
Step 3: Mount the Motor Wheel
Slide the motor axle into the dropouts, making sure the torque washers, anti-rotation washers, and flat washers are stacked in the correct order. The torque washer must engage with the dropout slot; the flat washer sits between the frame and the axle nut. On the front fork, the axle should sit fully into the dropout slot. On the rear, confirm the chain is seated on the smallest cog before pushing the wheel fully forward.
Most hub motors use a solid axle secured with two nuts and a torque arm on each side. Tighten the first nut by hand, then use a torque wrench to bring it to the manufacturer's specification, usually 25 to 40 Nm depending on axle diameter. Alternate between left and right to keep the wheel centered in the frame.
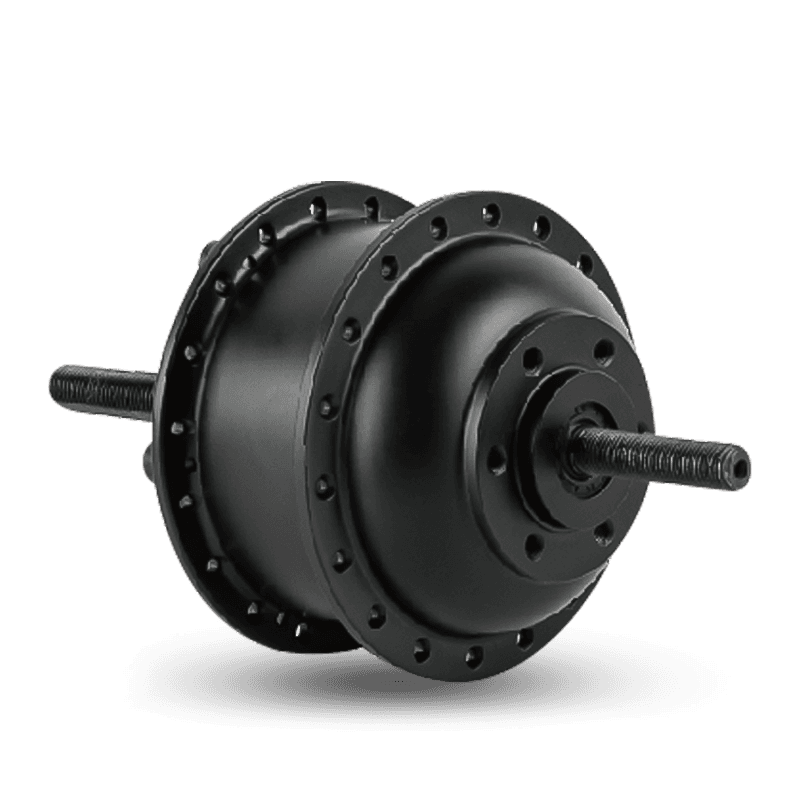 HT MINI Cassette Rear Hub Motor for E-City and E-Road BikesA compact rear hub motor at just 2.18kg, supporting torque sensor cassettes and 7-10 speed drivetrains, ideal for lightweight urban or road e-bike builds where simplicity matters.View Product →
Step 4: Reinstall the Cassette or Freewheel
For a rear hub motor, your existing cassette or freewheel must move onto the new motor wheel. A cassette slides onto the splined driver and is held with a lockring, which requires a lockring tool and a chain whip. A freewheel threads directly onto the motor axle and takes a freewheel remover tool. Check the driver body to determine which type your motor accepts.
Step 5: Check Alignment and Tighten Everything
Once the torque arms are locked and the axle nuts are torqued, spin the wheel to confirm it rotates freely and the rim does not rub the frame or fork. If the rim sits off-center, loosen both axle nuts slightly, adjust, and re-tighten in small alternating increments.
Wiring and Controller Connection
With the wheel mounted, turn to the electrical connections. A typical hub motor cable bundle includes heavy phase wires and thin Hall sensor wires. Most controllers use color-matched connectors, so this is mostly plug-and-play, but a few checks are worth making.
- Route the motor cable along the frame, following existing cable runs, and secure it with cable ties at regular intervals. Leave slack near the axle for steering and suspension movement.
- Connect the phase wires, usually blue, green, and yellow, to the controller.
- Connect the Hall sensor connector. This is a small multi-pin plug that only fits one way.
- Plug in the throttle, brake cutoffs, and display cables per your kit manual.
- Inspect every connector for full seating before closing the controller box. A half-seated connector is one of the most common causes of intermittent power loss.
Testing and Final Adjustments
After wiring, test everything. Check the brakes first: spin the wheel and apply each brake to confirm the pads engage cleanly without rubbing. If you fitted a disc rotor, center the caliper over the rotor.
- Turn on the controller and check the display for error codes.
- Support the bike so the driven wheel is off the ground, then apply gentle throttle to confirm the wheel spins in the correct direction.
- If it spins backward, use the controller learning mode or swap two phase wires. Many controllers self-teach on first power-up.
- Perform a short test ride at low speed, testing the brakes a few times to confirm the cutoffs work.
Listen for grinding or clicking. A soft gear whir from a geared hub motor is normal, but a sharp click or heavy grinding means something is out of alignment. Inspect the torque arms after the first ride and re-torque.
Common Installation Mistakes to Avoid
Over the years we have seen the same installation mistakes repeated. Here is how to avoid them.
| Mistake | What Happens | Prevention |
|---|---|---|
| Skipping the torque arm | Axle spins in the dropout and permanently damages the frame | Always install a torque arm on at least one side, ideally both |
| Over-tightening axle nuts | Damaged bearings and premature motor failure | Use a torque wrench and follow the specification |
| Ignoring dropout width | Motor axle does not fit the frame | Measure the dropout width before purchase |
| Pinching the motor cable | Intermittent power loss or short circuit | Route cables along the frame and secure with cable ties |
| Forgetting to transfer the cassette | No gears on the new rear wheel | Confirm the driver type and transfer the necessary parts before mounting |
Installing a hub motor on a bike is one of those jobs that looks more complicated on video than it actually is. With a clean workspace, the right tools, and a little patience, you can complete the conversion in an afternoon. The key is to respect the small but critical details: torque arms, correct tightening torque, and clean cable routing. Our team has been manufacturing hub motors for export markets for more than two decades, and we tell every customer the same thing. Installation is where the quality of the motor is either protected or squandered. Take your time, follow the sequence, and enjoy the ride.
OUR PRODUCTS
Recommended Products
-
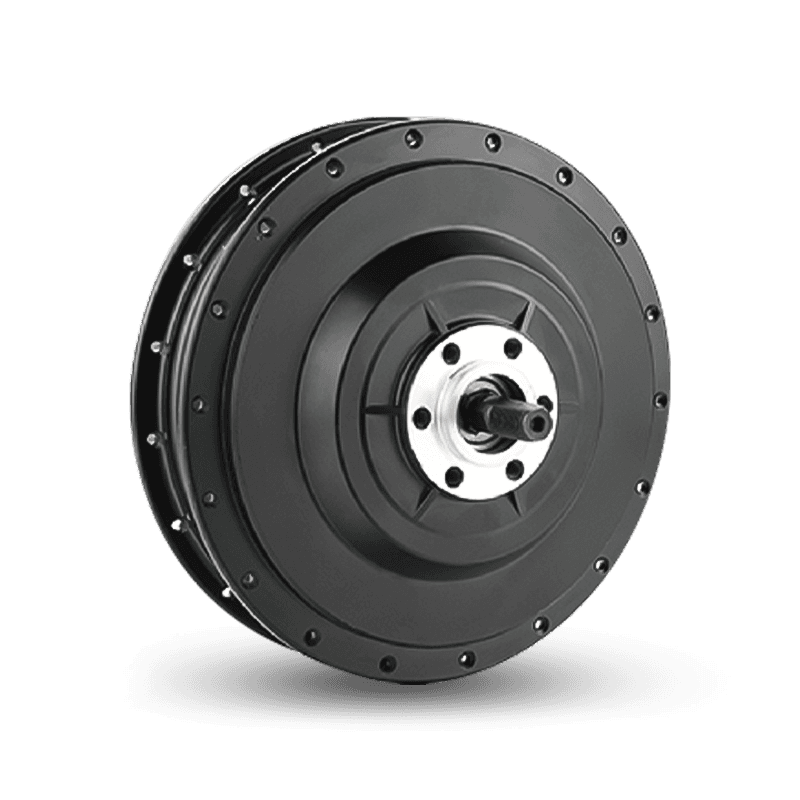 E-Type F500 Front Hub Motor
The E-Type F500 front hub motor is designed for E-Cargo and E-MTB bikes, offerin...
-
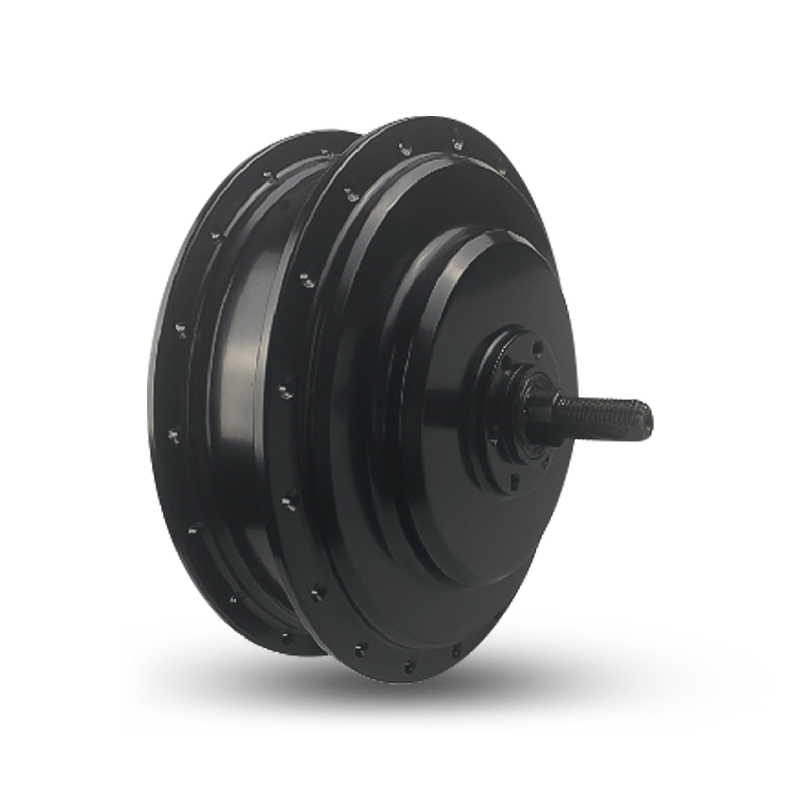 E-Type Pro RC750 Rear Hub Motor
The E-Type Pro RC750 Rear Hub Motor is designed for E-Cargo and E-MTB bikes, com...
-
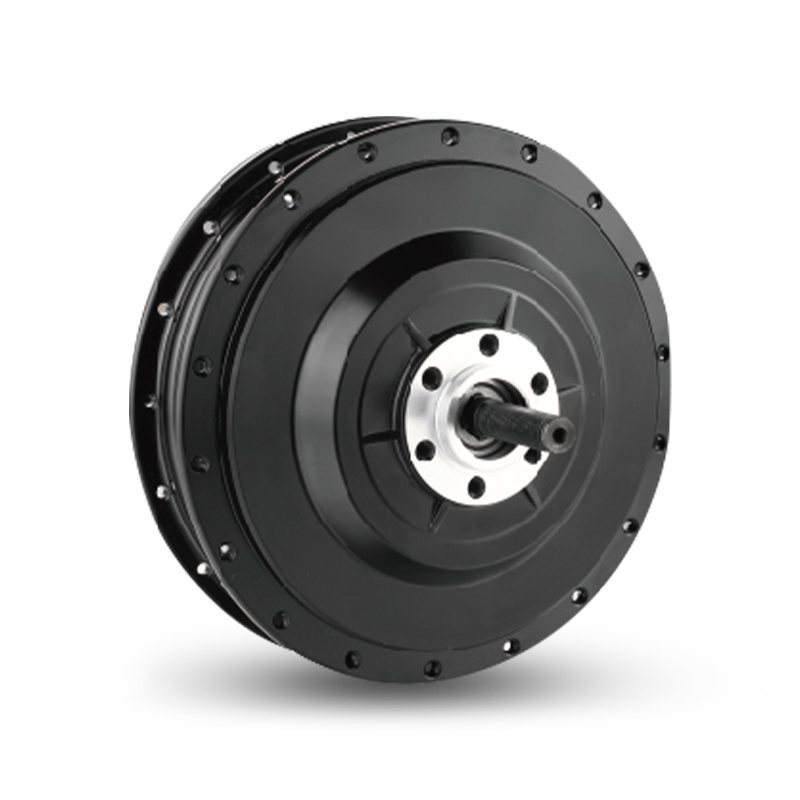 E-Type RF500 Rear Hub Motor
The E-Type RF500 Rear Hub Motor is designed for E-Cargo and E-MTB bikes, compati...
-
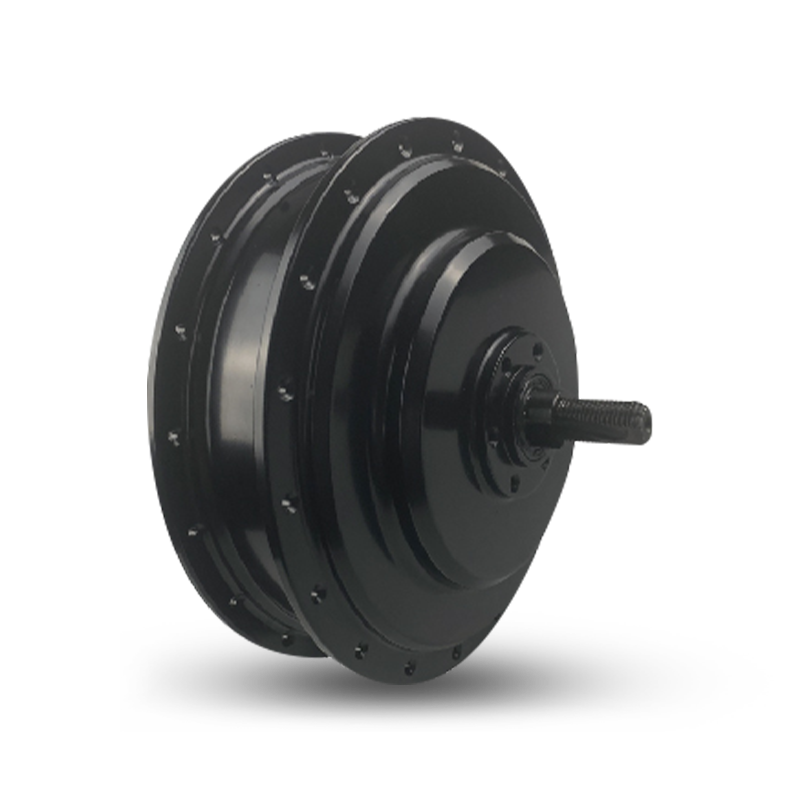 E-Type Pro RF750 Rear Hub Motor
The E-Type Pro RF750 Rear Hub Motor is designed for E-Cargo and E-MTB bikes, com...
-
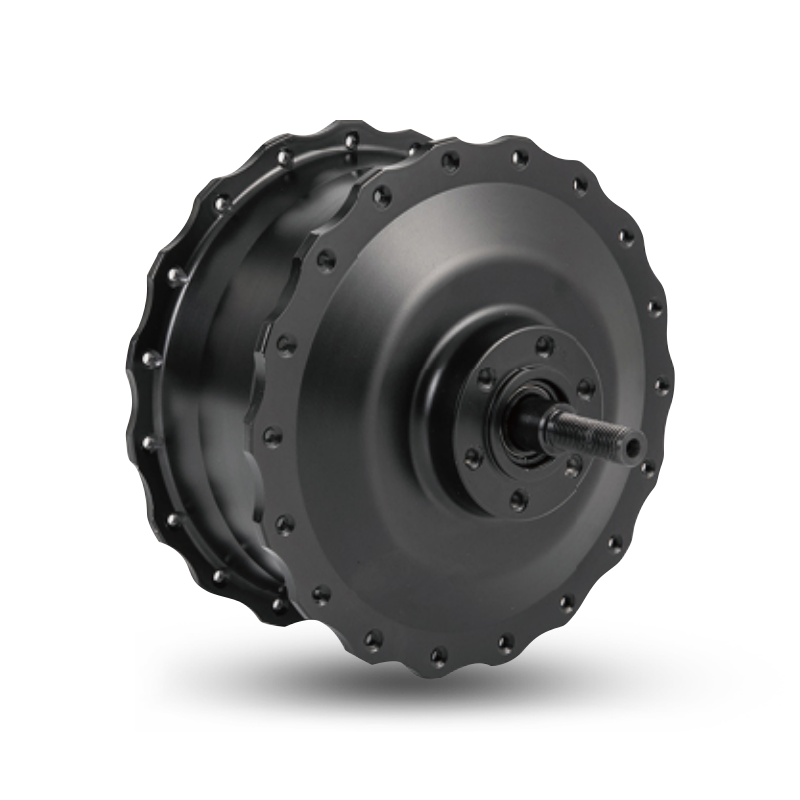 S-Type Pro F1500 Front Hub Motor
The S-Type Pro F1500 front hub motor, designed for E-Carao and E-Fat bikes, offe...
-
S-Type F750 Front Hub Motor
S-Type F750 is designed for E-Cargo and E-Fat. The rated power ranges from 500W ...
-
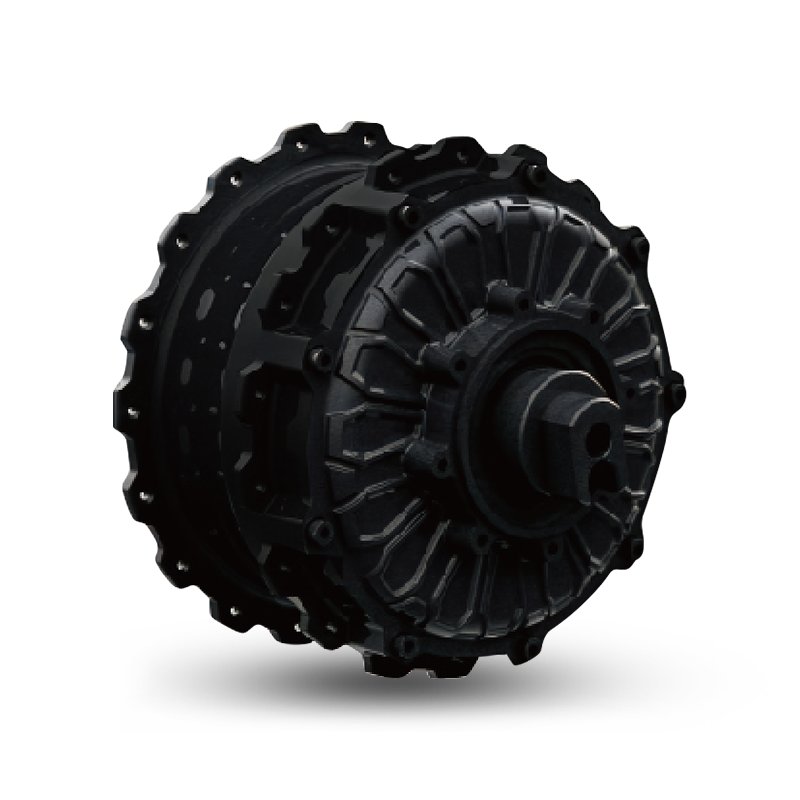 S-TYPE Max THRU AXLE Rear Hub Motor
The S-TYPE Max thru-axle motor is designed for E-Fat, Moped, and Cargo applicati...
-
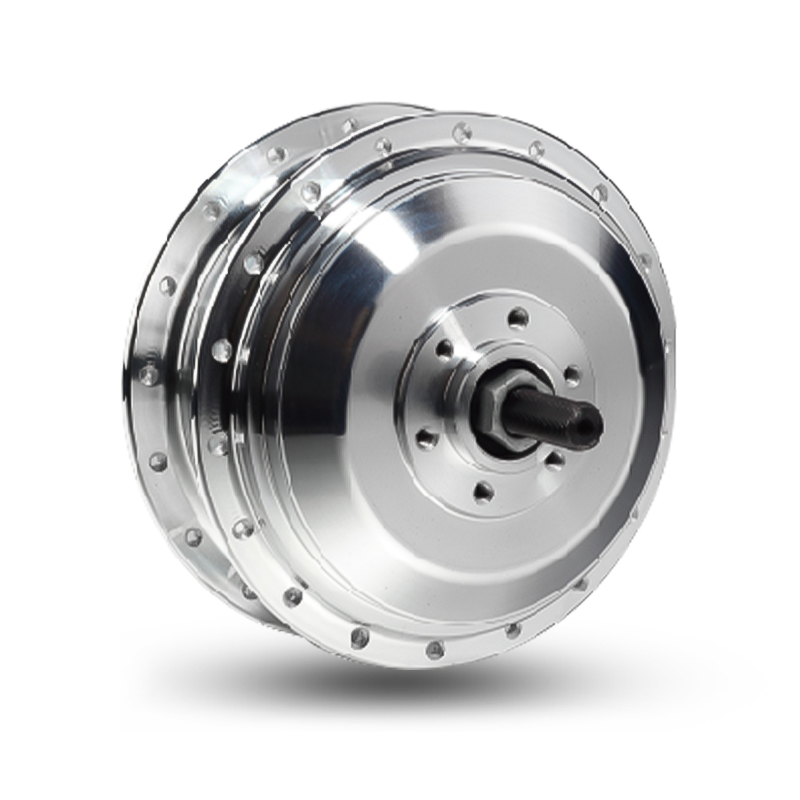 C-Type R350 Rear Hub Motor
The C-Type R350 Rear Hub Motor, designed for city e-bikes, offers a rated power ...
If you are interested in our products, please consult us
Contact Details
- Address:No. 3 Dingqiao Rd, Jiangshan Town, Yinzhou District, Ningbo, Zhejiang Province, China
- Phone: +86 13806662915
- Email: K.zhang@hengtai-cn.com
Products
Quick Link
News Center
Mobile terminal
